A feature naming test is a copy testing method that gathers user feedback on how well a proposed product or feature name resonates with its intended audience, helping teams identify whether the name connects to what the product actually does. Running this test early reveals user sentiment toward different name options and surfaces improvement areas before a final name is locked in.

Tag
Research
Date
Read Time
10 min
Content
Entropik Team
What is a Feature Naming Test?
Naming a product or product feature is essential as users directly identifies the product attributes from it. A Feature Naming Test helps to determine how audiences reacts to a product feature name and if they can associate it to the feature purpose.
When Should I Use This Feature Naming Test?
A common use of Feature Naming Test is used in copy testing or content testing. A few questions can be designed to help identify user responses for each product name. This feedback can be used to determine if the name connects to the respective product or feature.
Tests should typically be conducted to check if users can understand the product idea and if changes are required to align with user views and expectations.
Why Use a Feature Naming Test?
Using this test would provide the following benefits:
Find the fitment between a product name and its features.
Identify user sentiment for each name and uncover improvement areas.
Understand how to best align product features and the name based on user feedback.
{{cta-trial}}
How to Use This Feature Naming Template?
Follow the steps below to conduct a Feature Naming test on Qatalyst platform:
Step 1: Log in to the Qatalyst platform to access the homepage of the dashboard.
Step 2: Select Start from Templates button to get predefined templates option.

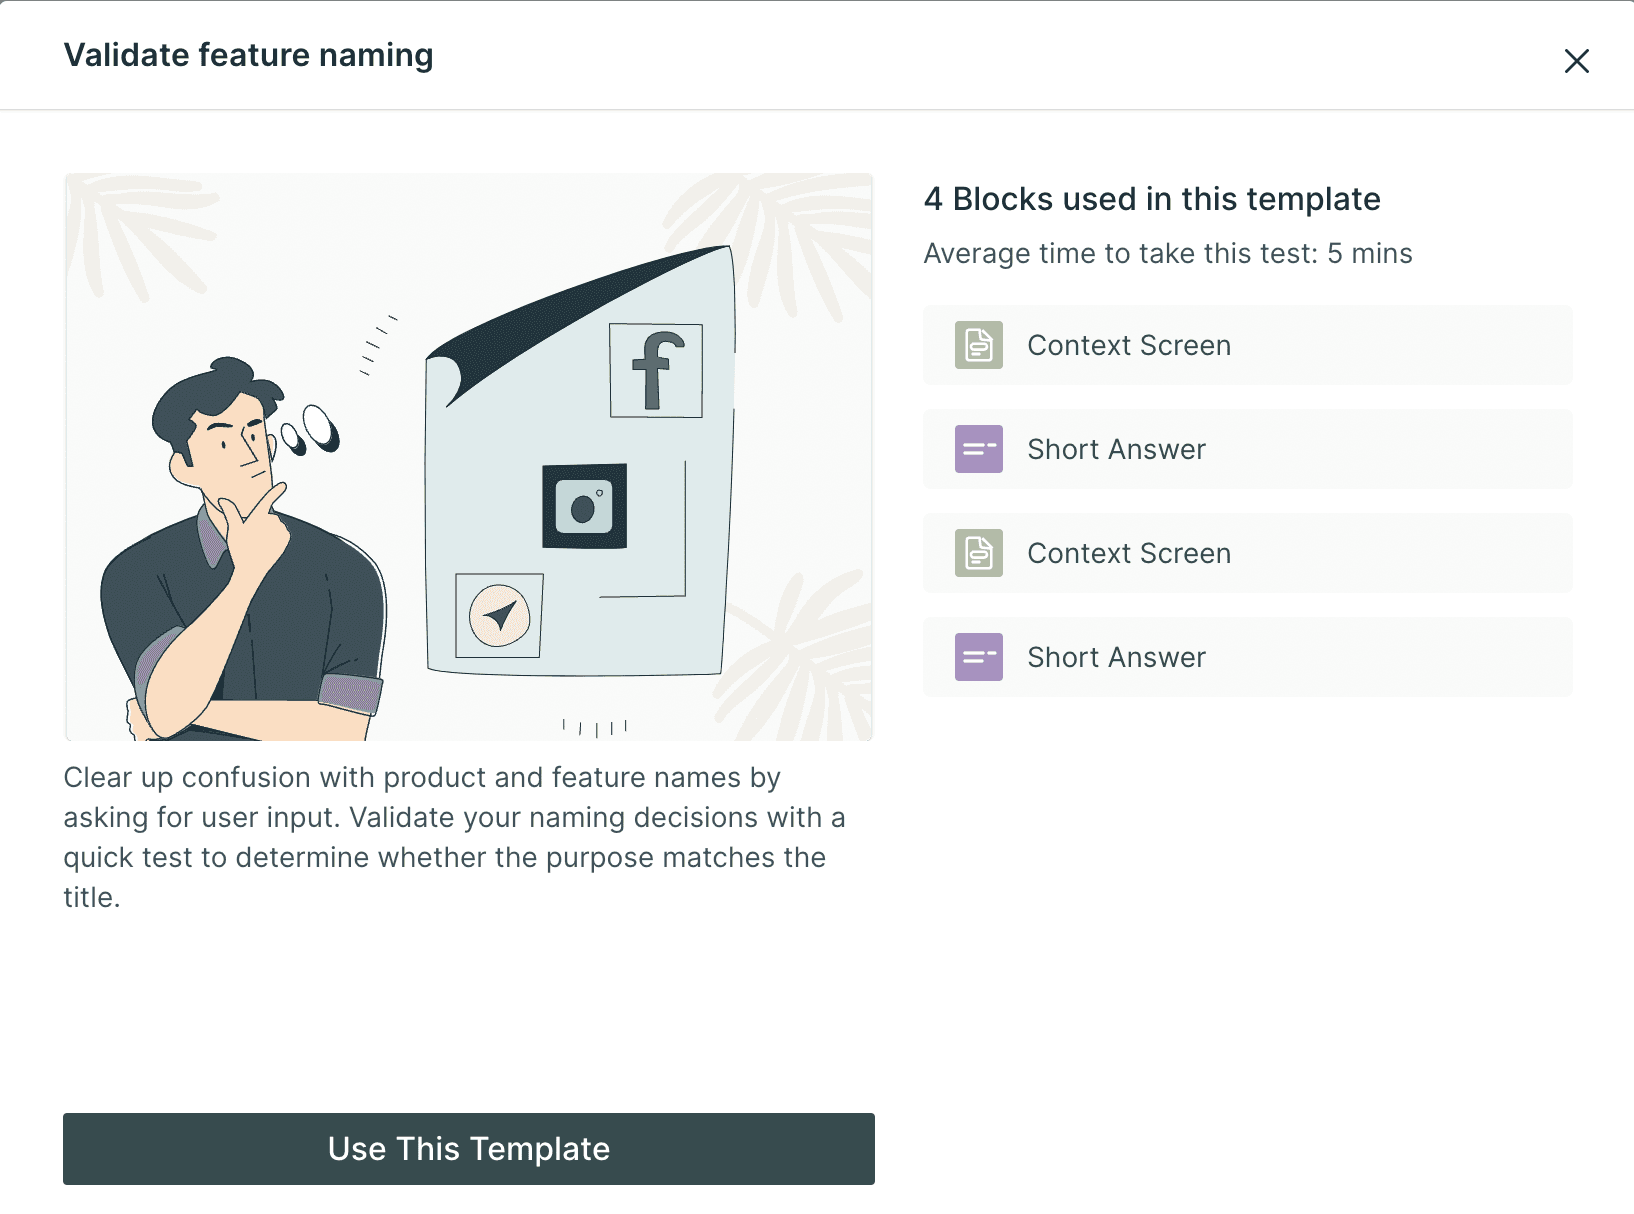
Step 3: Select Copy Testing on the left panel followed by the template Validate feature naming.
Step 4: Select Use This Template button on the dialog box to get started.
Step 4: Use the different predefined blocks on the left to create a study. It can also be customized further by adding, deleting, and rearranging blocks.
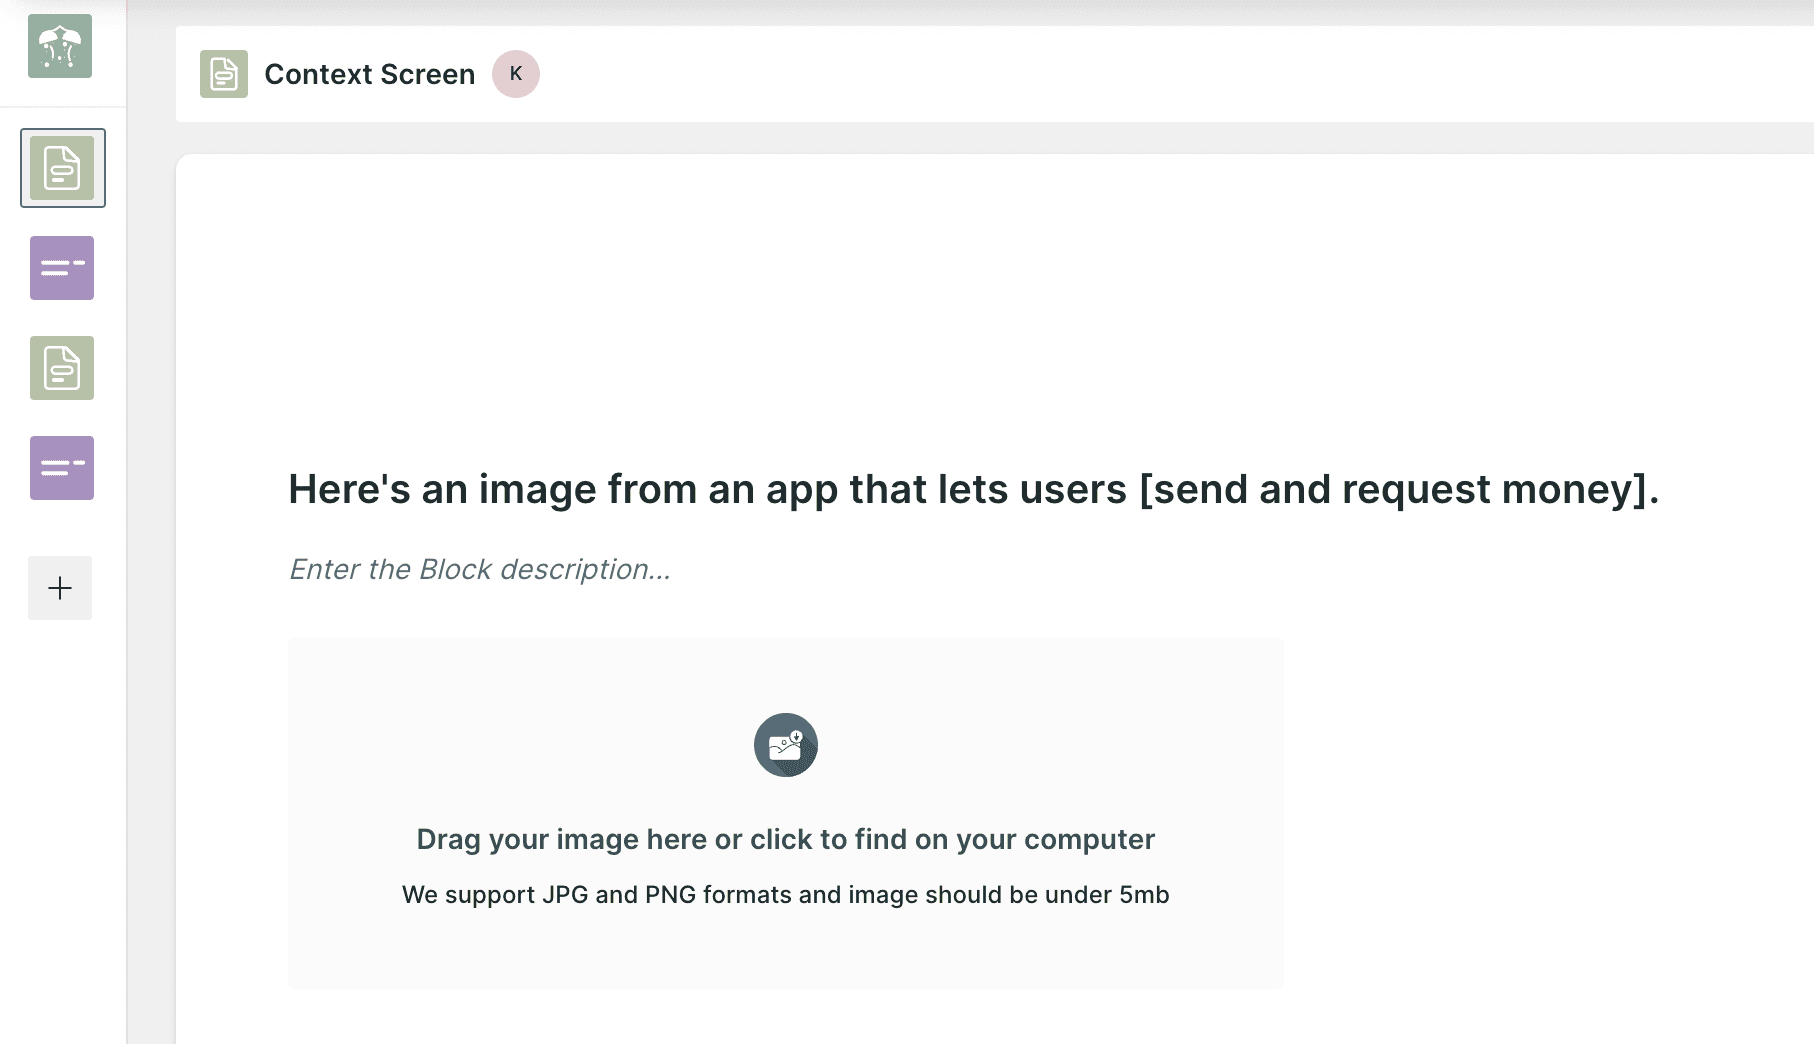
Step 5: Click on Context Screen block to add a relevant situational test information for the users. In this case, add a relevant image of your product or product feature along with a description.
Step 6: Click on Short Answer block to add your question based on the Context screen information provided. Alternatively, add the predefined sample question: What do you think this [feature] lets you do?
Step 7: Click on the next Context Screen block to add a relevant updated test information for the users. Add an updated relevant image of your product or product feature along with a description.
Step 8: Click on Short Answer block to add your question based on the Context screen information provided. Alternatively, add the predefined sample question: What do you think the feature lets you do, given this new information?
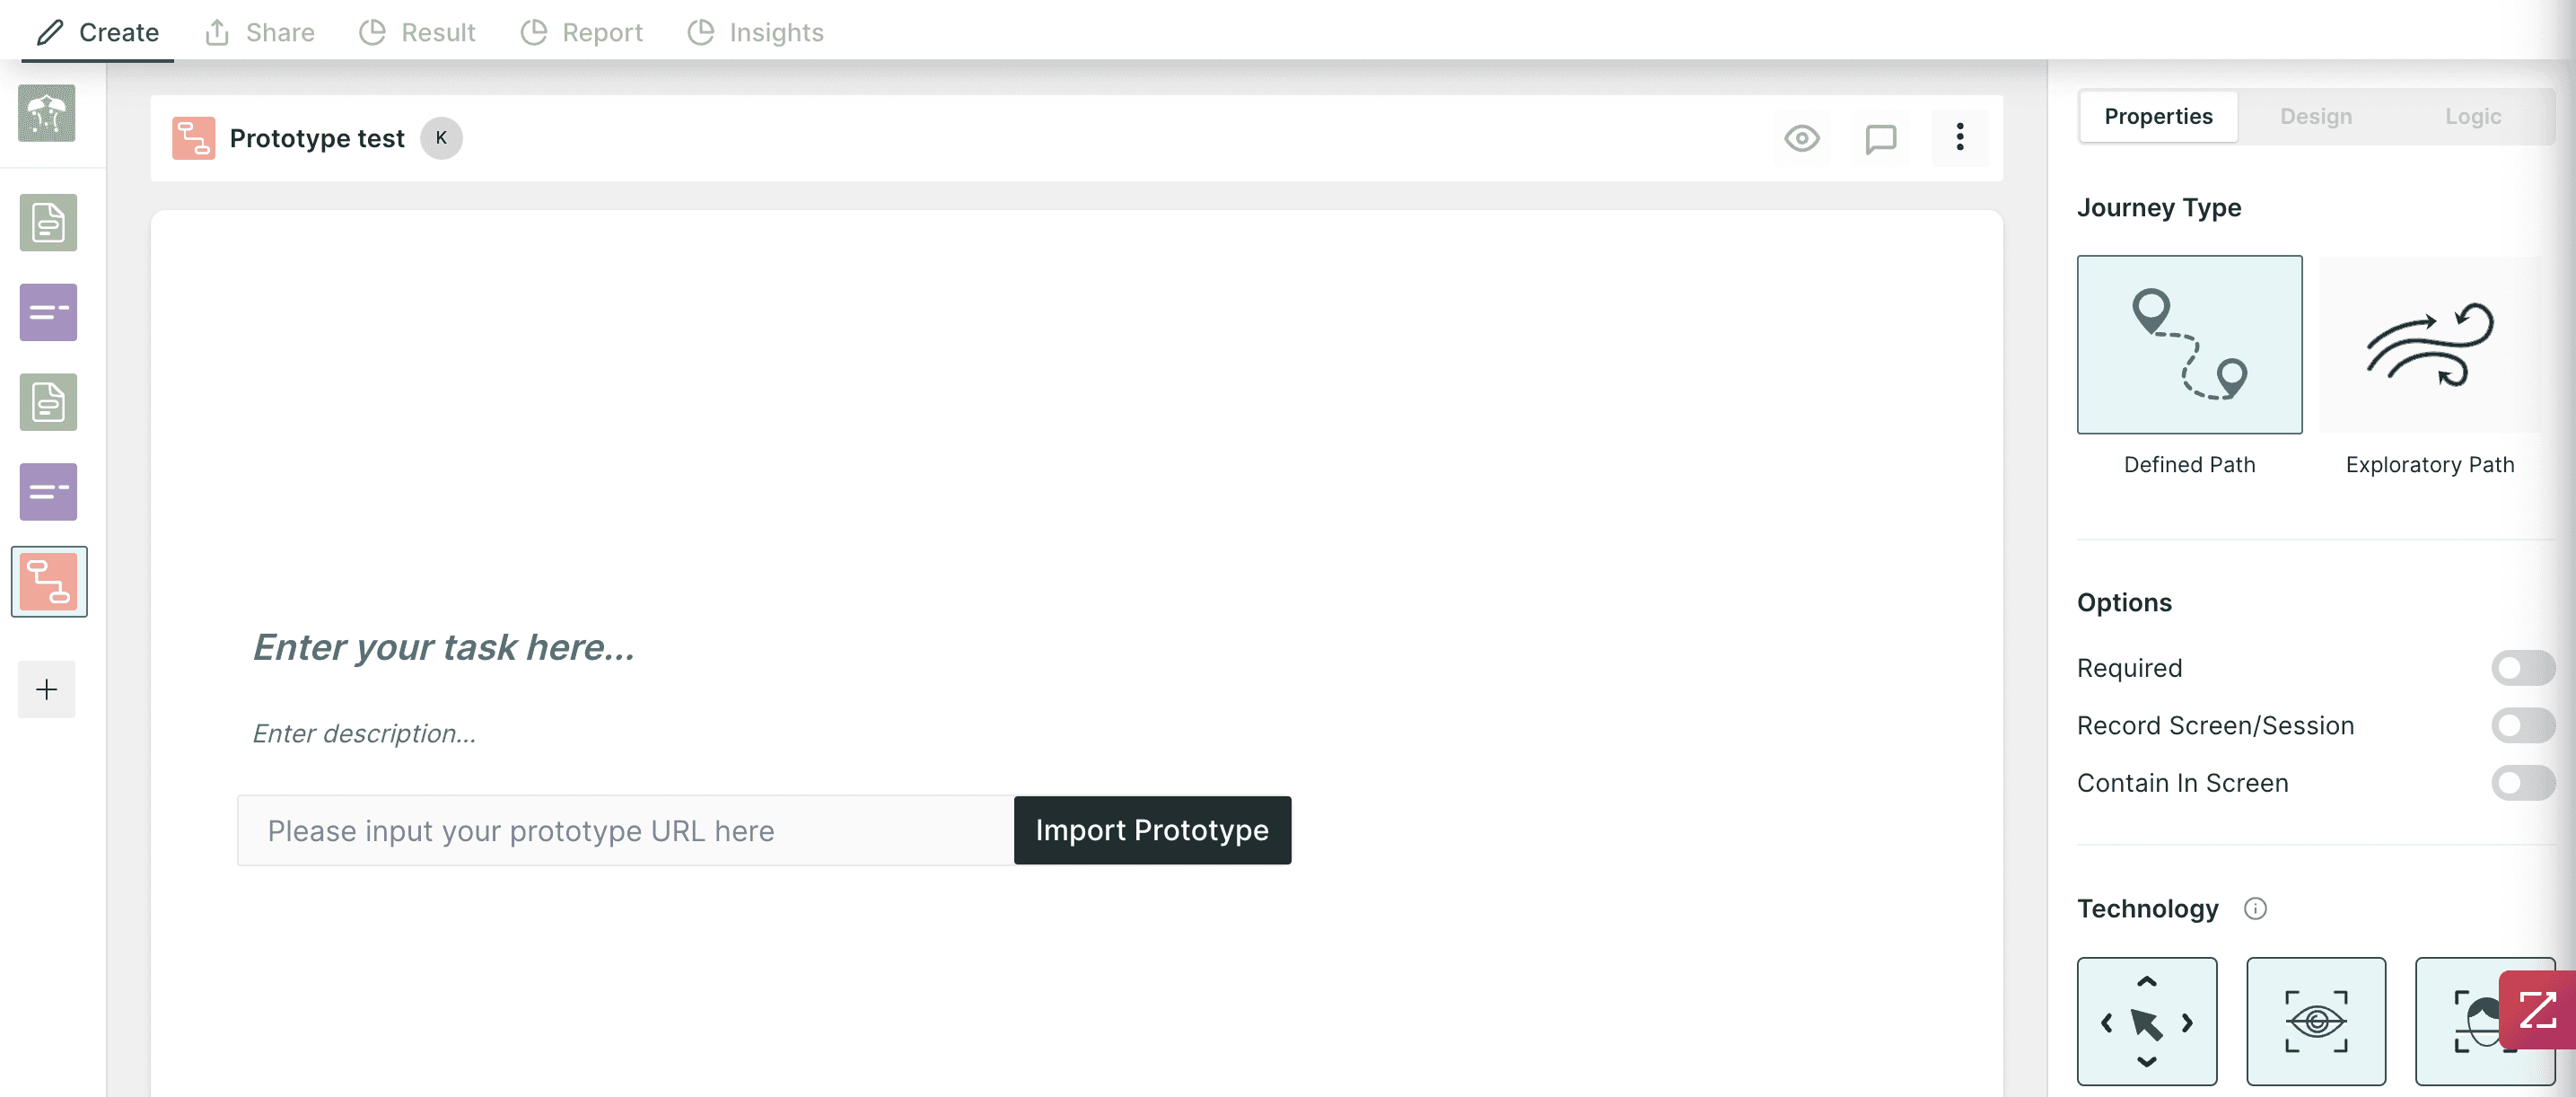
Step 9: Click on Prototype Test block. Add short description and Import Prototype in the required field. Also, in the journey type on the right panel, select desired journey type, technologies and other options as required.
Once a test is set up, click on Publish and share the test with internal or external respondents through a test link or QR code.
{{cta-trial}}
Frequently asked questions
1. What is copy testing?
Copy testing evaluates how effectively written marketing or advertising copy communicates its intended message and resonates with a target audience before it's used in a campaign.
2. What should a copy testing template include?
A good template includes testing objectives, target audience criteria, key comprehension and appeal questions, and a structure for comparing multiple copy variations.
3. Why is copy testing important before launching a campaign?
It helps ensure messaging is clear, persuasive, and resonant with the target audience, reducing the risk of a campaign underperforming due to unclear or ineffective copy.
4. What metrics are used to evaluate copy in testing?
Common metrics include message clarity, emotional resonance, believability, and likelihood to drive the intended action, like a purchase or sign-up.
5. How is copy testing different from broader creative testing?
Copy testing focuses specifically on written messaging, while broader creative testing also evaluates visual elements, overall attention capture, and emotional response to the full creative asset.


