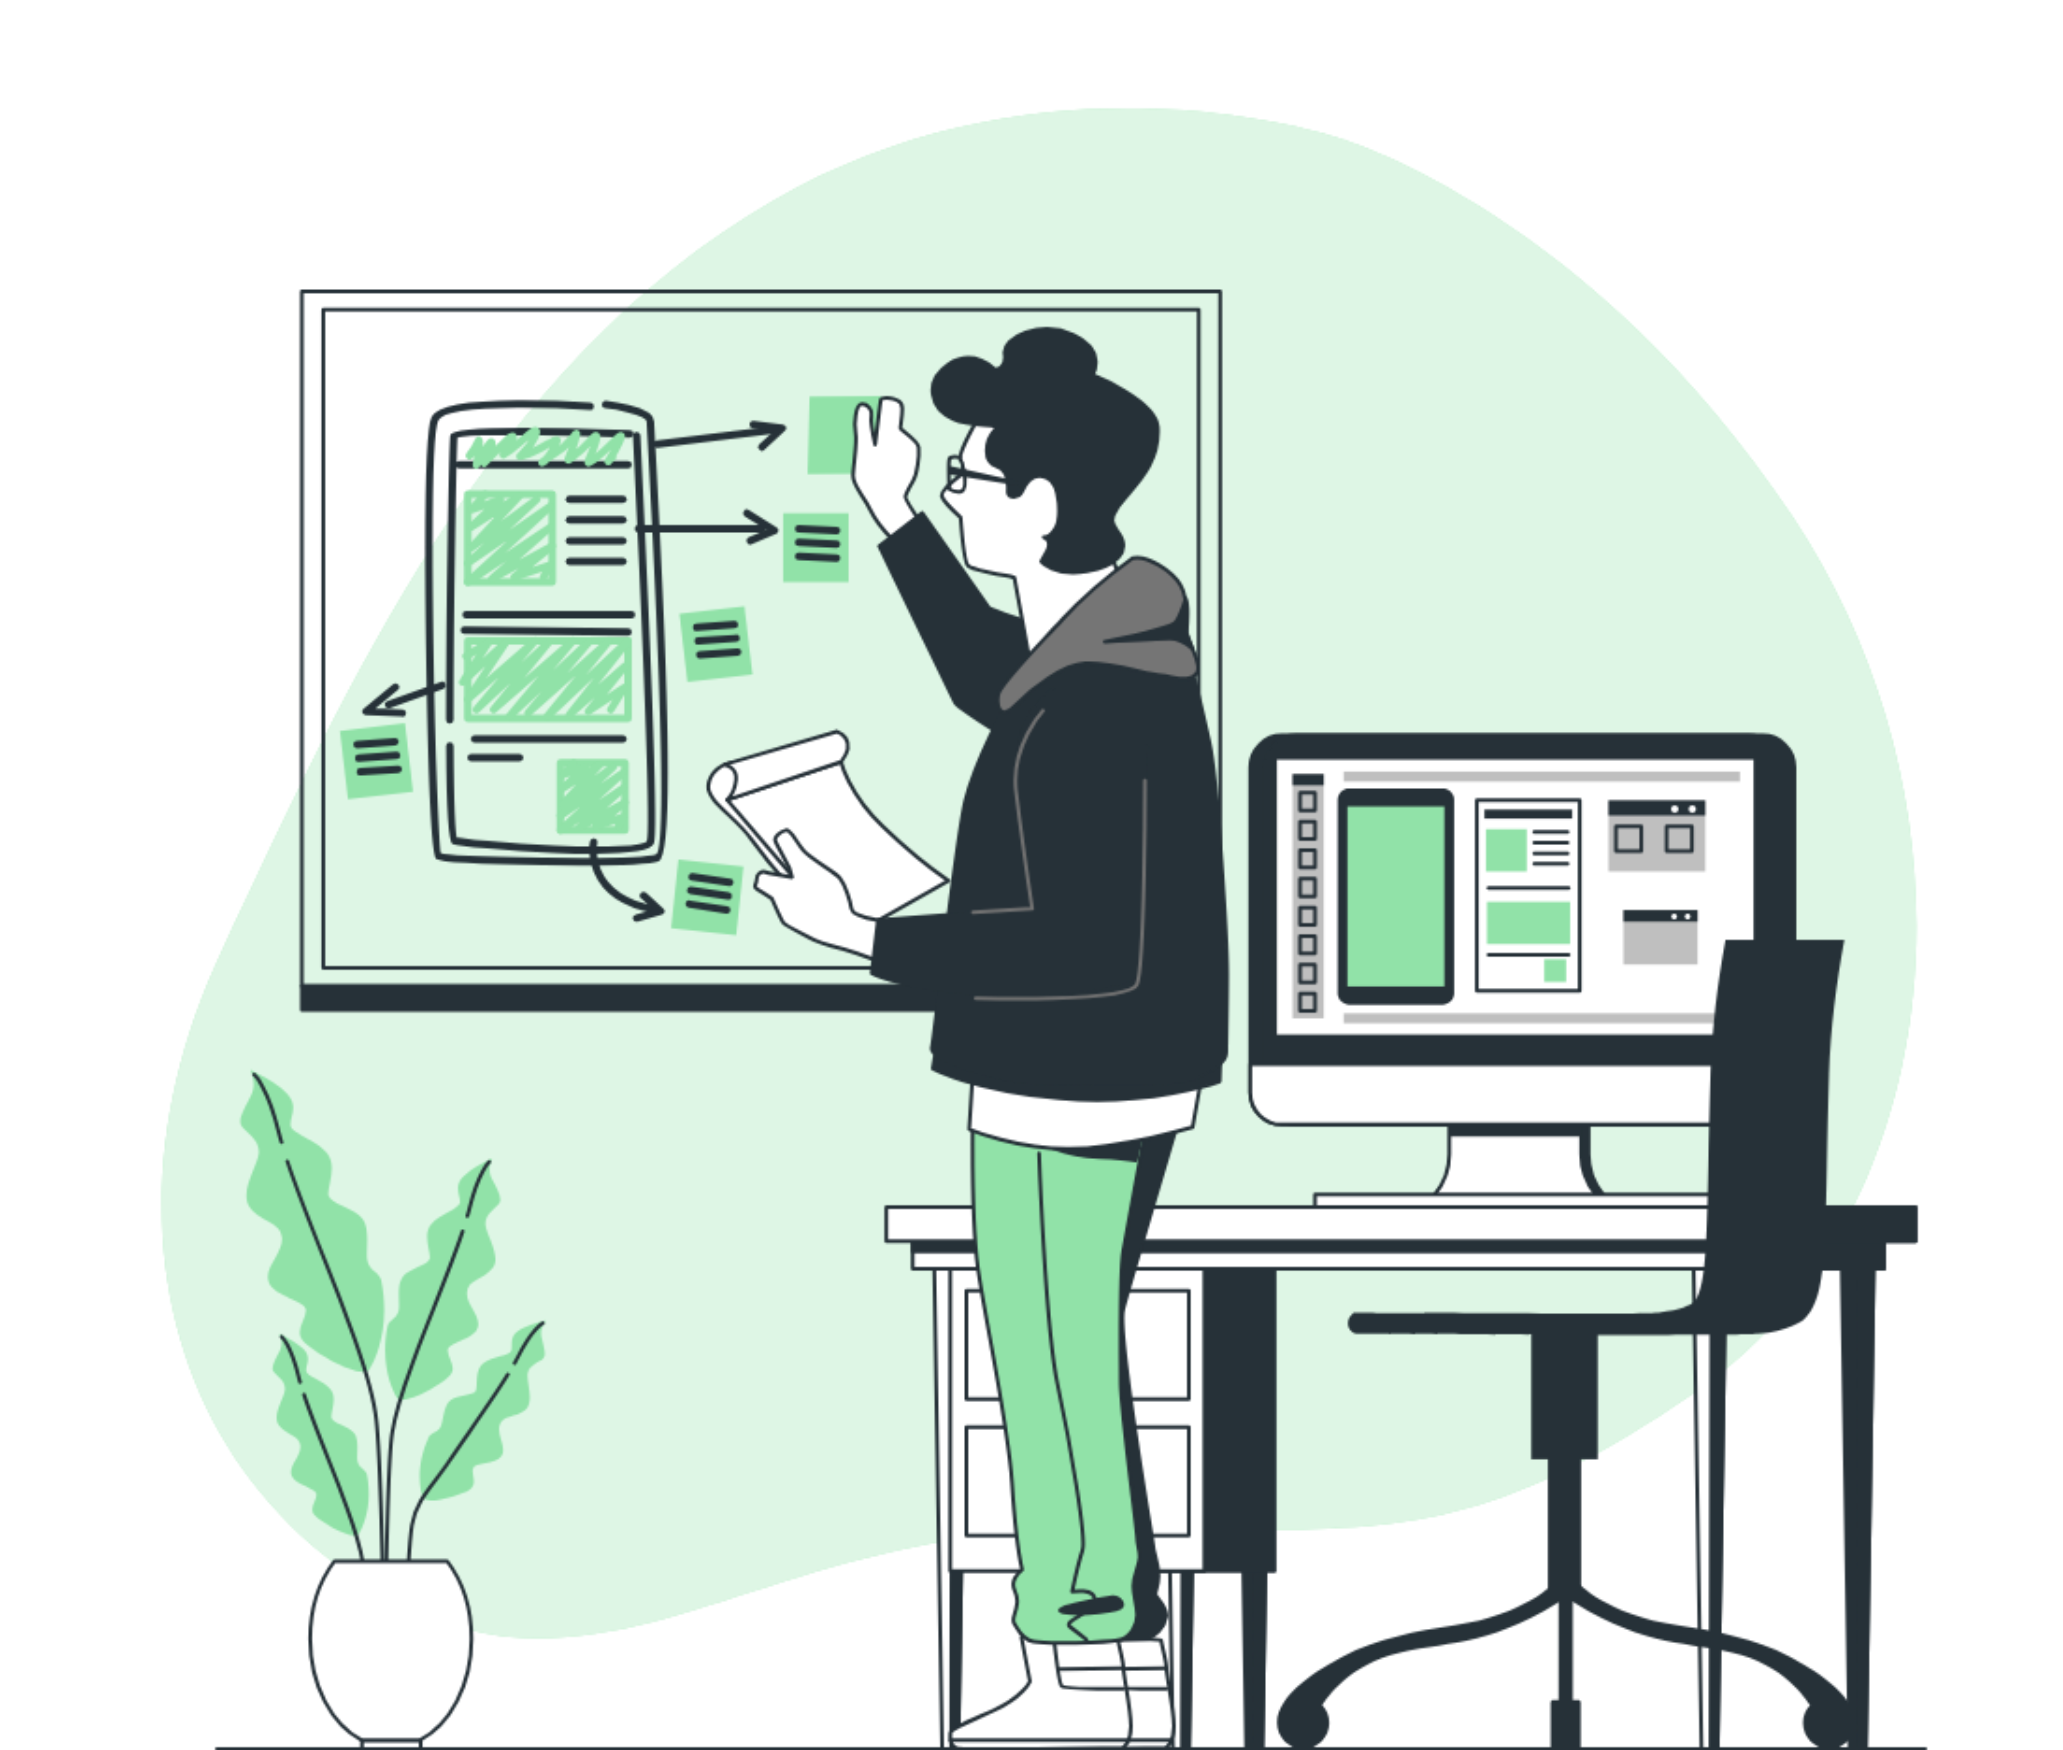
Whenever you start something new, it’s always beneficial to have a preview of what you’re planning to do, be it a sketch or an outline of whatever you’re working on.
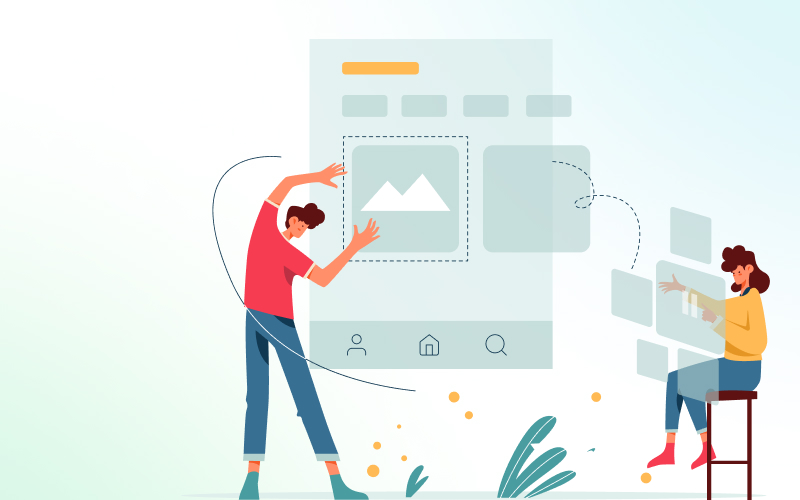
Prototypes work in a very similar way for those creating a website or an app. By developing prototypes, you can adopt a user-centred approach, visualize your ideas, and gather feedback efficiently.
What are the advantages of website prototyping?
Design with the user in mind
By creating a website prototype, you can adopt a user-centred approach, ensuring that the website meets the needs and expectations of your target audience. A prototype enables you to get insightful user feedback early on, aids in the creation of a more user-friendly experience, and allows you to make well-informed design decisions.
Read more: User-centered Design: How to Prove (and Improve) Its Impact on the Bottom Line
Helps visualize and refine ideas
Having a prototype allows you to get a clear, tangible representation of your final product and helps you visualize the layout, structure, and overall user interface of your website/app. With more clarity, team members, clients, and stakeholders can communicate and work together more effectively, preventing misunderstandings and lowering the risk of rework.
Efficient feedback and iteration
Prototyping enables an iterative design process to gather feedback and make improvements at various stages of development. This iterative approach allows you to address issues and improvements early, saving time and resources in the long run.
Functional testing
Prototypes allow you to test the functionality of your website before investing significant resources in its development. By simulating user interactions and workflows, you can identify technical or usability issues, validate feature effectiveness, and make necessary adjustments to improve the user experience.
Stakeholder involvement and consent
A website prototype can serve as a powerful tool to engage with stakeholders and gain support. A visual representation of your website's design and functionality can effectively communicate your project vision, demonstrate progress, and gather valuable feedback and support from stakeholders throughout the development process.
Cost and time savings
Developing a prototype early on can save you time and money by identifying potential design flaws and usability issues before investing in full-scale development. By addressing these issues at an early stage, you can avoid costly revisions, reduce development time, and ensure a smoother and more efficient implementation of the final website.
{{cta-case}}
Website prototyping methods
There are several different methods and tools you can use to create a website prototype. Here are some popular approaches:
Paper prototyping
This is a low-tech and cost-effective method that involves sketching out the website's layout and user interface on paper. It allows for quick ideation and iteration, and it's especially useful in the early stages of design when you're exploring different concepts and ideas.
Wireframing
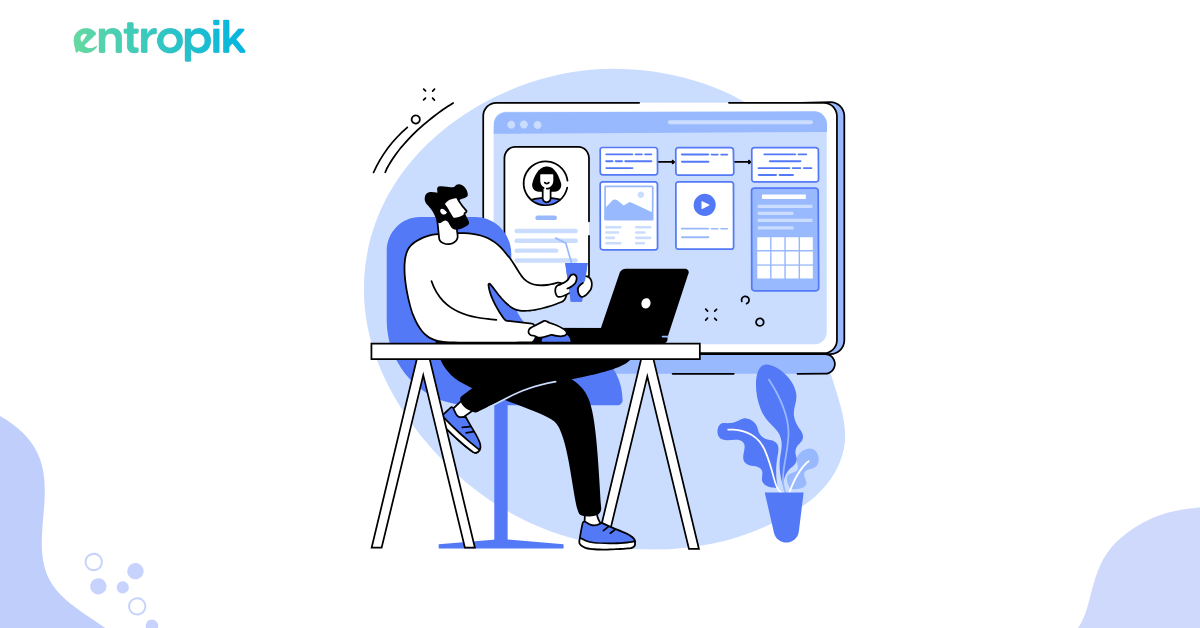
Wireframes are simplified, black-and-white representations of the website's structure and layout. They focus on the placement of elements, navigation, and overall information hierarchy. Wireframing tools like Balsamiq, Sketch, or Adobe XD can be used to create digital wireframes.
Interactive mockups
Interactive mockups provide a more realistic representation of the website's design and functionality. Using tools like InVision and Figma, you can create clickable prototypes that allow users to navigate between pages, interact with elements, and experience the flow of the website.
HTML/CSS prototyping
For those with coding skills, creating a prototype directly in HTML and CSS can be an effective approach. This method allows for more customization and control over the design and interactions. It's particularly useful when you want to test specific features or interactions that require more advanced coding.
Rapid prototyping tools
There are numerous rapid prototyping tools available that offer a combination of drag-and-drop interfaces and pre-designed components. These tools, such as Adobe XD, Figma, or Sketch, allow you to create interactive prototypes quickly by assembling pre-built elements and defining interactions without extensive coding.
High-fidelity prototyping
High-fidelity prototypes aim to closely resemble the final website in terms of design, interactions, and functionality. They often involve using advanced design tools like Adobe XD, Sketch, or Figma to create pixel-perfect visuals and interactive animations. High-fidelity prototypes are useful for testing specific user interactions and gathering detailed feedback.
Steps to test your prototype
Testing your prototypes is an essential step in the product development process to ensure a successful user experience. Here are the steps you should undertake:
Know what you’re testing
The first and most important step is to understand what you want to discover about your product. Define clear objectives and questions to guide your testing process. This clarity will help you focus your efforts and gather meaningful insights.
Read more: Product Discovery and Delivery: How to Uncover What your Users Need
Create the prototype
The type of prototype you create can depend both on the goal of your testing as well as the stage you’re in. There are two specific types of prototyping you can consider:
Low-fidelity prototyping: These are rough, simplified representations of the product usually built in the first stages of the product development process. They are best to uncover early-stage insights such as understanding if the basic layout and structure work, but might not accurately represent the user experience, and hence might be difficult to visualize.
High-fidelity prototyping: These are detailed and interactive representations of the product that closely resemble the final design and functionality. High-fidelity prototypes include realistic visuals, interactive elements, and even simulate specific user interactions or scenarios, and are particularly useful in later stages of the product development process when you want to gather more specific feedback and test the usability and functionality of the design.
When deciding between low-fidelity and high-fidelity prototypes, consider the goals of your testing and the resources available. Low-fidelity prototypes are quick and cost-effective to create, making them suitable for early-stage exploration and concept validation. On the other hand, high-fidelity prototypes require more time and effort to develop, but they offer a more realistic representation of the final product, making them valuable for detailed user testing and gathering comprehensive feedback.
Choose the right audience
When choosing the right participants to test your prototype, it is important to select those who reflect your end users. You should also have a mix of testers who have already used your product and those who might become users in the future to get diverse perspectives from a larger audience.
Choose your usability testing method
There are various usability testing methods to consider, such as in-person testing, remote testing, or moderated or unmoderated sessions. Select the method that aligns with your testing goals, resources, and the accessibility of your target audience. Each method has its advantages and considerations, so choose the one that best suits your needs.
Read more: The Complete Guide to Conduct Usability Testing
Pick the right questions for users
Design a set of well-crafted questions and tasks to guide users during testing. These questions should be focused on the specific aspects of the prototype you want to evaluate. Consider both open-ended and closed-ended questions to gather qualitative and quantitative feedback. This will help you uncover usability issues, user preferences, and areas for improvement.
Launch your test
Conduct the testing sessions with your chosen participants. Provide clear instructions and encourage testers to think aloud as they interact with the prototype. This will help you understand their thoughts, actions, and reactions, providing valuable insights into their user experience.
Analyze and share the results
Once the testing is complete, analyze the data collected during the sessions. Look for patterns, common issues, and recurring feedback. Identify both positive aspects and areas for improvement. Use this analysis to refine your design and prioritize necessary changes. Share the results with your team or stakeholders, providing clear and actionable recommendations based on the findings.
Read more: Top 6 Usability Metrics You Need to Measure to Improve Your ROI
To conclude
Through website prototyping, you can create a website that truly resonates with your target audience. However, the journey doesn't end with the initial prototype. Continuous testing is the key to unlocking the full potential of website prototyping.
Through continuous testing, you can refine your designs, address usability issues, and ensure seamless functionality. By incorporating user feedback at every stage of development, you can make data-driven decisions, enhance user experiences, and align your designs with changing user expectations.
{{cta-button}}


.png)


.jpg)


